
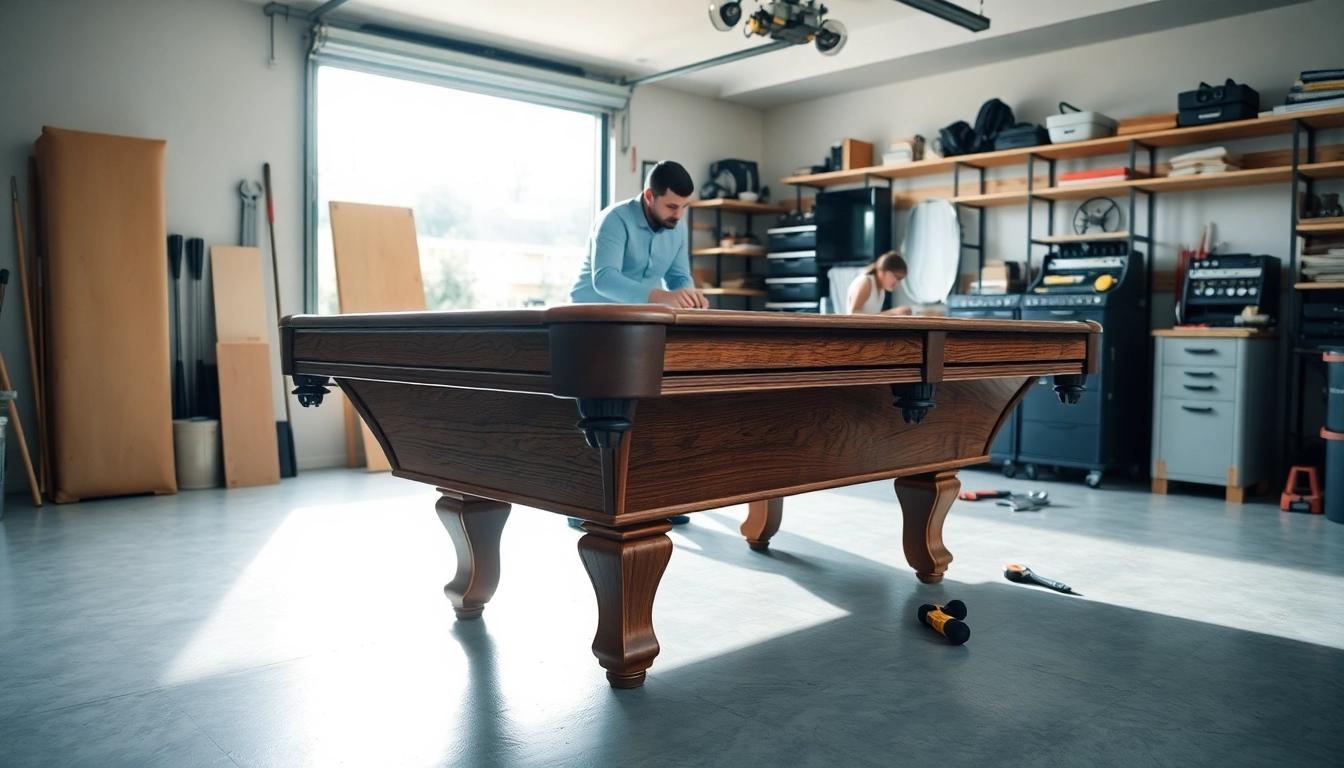
Understanding Pool Table Disassembly
What is Pool Table Disassembly?
Pool table disassembly is the process of taking apart a pool table for various reasons such as moving, refurbishing, or storage. This intricate task requires careful attention to detail, as improper disassembly can lead to damage or loss of important table components. Understanding the anatomy of a pool table, including its legs, felt, slate, and pockets, is crucial for a successful disassembly. If you're considering this process, you are likely seeking methods to ensure that your table remains intact for a seamless reassembly. For a comprehensive guide on Pool Table Disassembly, detailed step-by-step processes and best practices will be explored further in this article.
Why Would You Need to Disassemble?
There are several compelling reasons for disassembling a pool table:
- Moving: Pool tables are heavy and cumbersome. To safely relocate a pool table, disassembly is often necessary to navigate through doorways and tight corners.
- Repairs: Sometimes, a table may need repairs such as re-felting or fixing structural issues. Disassembling allows easier access to the inner components.
- Refurbishing: Individuals may want to update the design of their pool table. This could involve changing the felt color or refinishing the wood, which necessitates disassembly.
- Storage: If you're moving to a new home and cannot take the table immediately, disassembling it may be the best way to store it safely.
Common Tools Required for Pool Table Disassembly
To disassemble a pool table, you will need the following tools and materials:
- Screwdrivers: Both flathead and Phillips screwdrivers are essential for unscrewing bolts and screws.
- Wrench or Socket Set: Necessary for removing the legs and other bolted components.
- Staple Remover: Useful for removing the felt, which is often stapled to the wood frame.
- Utility Knife: This can help in cutting through any adhesive or unnecessary materials that may impede disassembly.
- Protective Gear: Always use gloves and safety glasses to protect yourself from sharp edges and debris.
Preparing for Pool Table Disassembly
Gather Your Tools and Supplies
Before starting the disassembly process, gather all necessary tools and supplies in one area. This ensures a smooth workflow and minimizes interruptions. Having everything at hand will also reduce the chances of misplacing small components such as screws and bolts during the disassembly.
Choosing the Right Location
Choose a spacious and clean area for disassembly. This could be a garage or a room with ample space to lay out the components once they are removed. Make sure the area is dry and free from potential hazards that might cause accidents.
Assessment of Table Condition
Before disassembly, assess the condition of your pool table. Look for signs of wear, water damage, or structural weaknesses. This evaluation will help you anticipate any complications that may arise during the disassembly process. Taking note of these factors could save you time and effort when it comes time to reassemble the table.
Step-by-Step Process to Disassemble Pool Table
Removing Table Accessories and Covers
Begin by removing any accessories such as pool cues, balls, and racking triangles from the table. Use a screwdriver to detach any covers. Ensure that you keep these components in a secure location to avoid losing them during the disassembly.
Disconnecting the Legs
Next, carefully remove the table’s legs. Typically, legs are either bolted on or screwed into the frame. Use the appropriate wrench or socket set to unscrew them. When detaching the legs, have a helper assist you if possible, as they can be heavy and awkward to handle.
Removing the Slate and Felt
Once the legs are removed, the next step involves the slate and felt. Start by examining the felt. If it is attached with staples, use a staple remover to carefully pull them free. Then, remove the slate bolts using a wrench. Slate can be incredibly heavy, often weighing between 200 to 300 pounds. It’s advisable to have at least two people handle the slate to prevent injuries or damage.
Common Challenges During Pool Table Disassembly
Dealing with Stubborn Bolts
It is common to encounter stubborn bolts that resist unscrewing. Apply a penetrating oil like WD-40 to loosen rusted or corroded bolts. Allow it to soak for a few minutes before trying again. If necessary, use a ratchet wrench for additional torque, but be cautious not to strip the bolt head.
Handling Heavy Slate
Slate components can be burdensome. Always lift with your legs and keep your back straight to avoid injuries. Use a dolly or sliding boards to transport the slate pieces once detached. Secure them adequately to prevent accidents during movement.
Conserving Table Components
During disassembly, it's crucial to keep track of all components, including screws, bolts, and felt. Have labeled ziplock bags for screws and small parts. Document the disassembly process with photos to aid in reassembly, saving you from potential confusion later.
Post-Disassembly: What to Do Next?
Moving the Components Safely
Once disassembled, securely transport the pool table components. Ensure that the legs, slate, and frame are padded with blankets or soft materials to prevent scratches during transit. Organizing the pieces logically will also facilitate easier reassembly.
Setting Up for Reassembly
Before reassembly, evaluate your new setup area. Measure the space to ensure your pool table fits comfortably without obstructions. Following the documentation created during disassembly will assist in ensuring that everything fits back together seamlessly.
Maintaining Your Pool Table
Regular maintenance is essential for the longevity of your pool table after disassembly and reassembly. This includes periodic cleaning, checking for loose bolts, and replacing the felt as needed. Taking proactive steps in maintenance will enhance your playing experience and preserve your investment.
FAQs about Pool Table Disassembly
1. How long does it take to disassemble a pool table?
Disassembling a pool table typically takes about 2 to 4 hours. This includes removal of accessories, legs, slate, and felt, depending on your experience and the table type.
2. Is it necessary to have professional help?
While some individuals can manage disassembly alone, having a knowledgeable friend or hiring professionals is recommended, especially for heavy slate tables, to avoid injury and damage.
3. Can I reassemble the pool table myself?
Yes, you can reassemble it yourself. Documenting the process with photos during disassembly will aid significantly. Follow the steps in reverse, ensuring everything is secured properly.
4. What should I do if a bolt is stripped?
If a bolt is stripped, use a bolt extractor or a rubber band between the screwdriver and bolt for extra grip. If it’s too damaged, you may need to drill it out and replace it.
5. How can I prevent damage to the felt?
Remove felt carefully to avoid tearing. When moving or storing it, roll it up loosely and keep it flat to prevent creases and damage from sharp edges.